AWS DeepRacer simulation: Car model
Roadmap
Create a car model
Car (robot) models are written in URDF format, it means it has:
- links - building block of a model. Each link has its own position, orientation, inertia, visual features, and collision properties
- joints connect links. Each joint has its own position, axis and type(fixed, continuous, etc.)
More about URDF can be found here
I took car model from aws-deepracer ROS2 version and rewrote some parts to work in ROS1.
Create a package with name deepracer_car. Here we will gather all code for car model and its control.
cd ~/deep_ws/src
# create package with name deepracer_car and dependencies
catkin_create_pkg deepracer_car gazebo_ros ackermann_msgs std_msgs rospy
cd ../
catkin_make
After every
catkin_makebe sure to source your workspace!!!
Copy in deepracer_car folders meshes, urdf and rviz from my repo.
To view this model we will use RVIZ - ROS 3D Robot Visualizer. Create rviz.launch in deepracer_car/launch folder and paste there:
<!-- deep_ws/src/deepracer_car/launch/rviz.launch -->
<?xml version="1.0"?>
<launch>
<!-- load car model to parameter server -->
<!-- xacro parses your macros and constants;
      e.g. you can write one macros for a wheel
      and call it for times instead of
      four almost identical pieces of code -->
  <param name="robot_description"
   command="$(find xacro)/xacro '$(find deepracer_car)/urdf/xacro/deepracer/deepracer.xacro'"/>

<!-- A source that publishes car joint positions as a sensor_msgs/JointState -->
  <node name="joint_state_publisher" pkg="joint_state_publisher" type="joint_state_publisher" />

<!-- robot state publisher internally has
      a kinematic model of the robot;
      so given the joint positions of the robot,
      the robot state publisher can compute and
      broadcast the 3D pose of each link in the robot. -->
  <node name="robot_state_publisher" pkg="robot_state_publisher"
        type="robot_state_publisher" respawn="false" output="screen"/>

<!-- load rviz with configuration file -->
  <arg name="rvizconfig" default="$(find deepracer_car)/rviz/rviz.rviz" />
  <node name="rviz" pkg="rviz" type="rviz" args="-d $(arg rvizconfig)"/>
</launch>
Now run
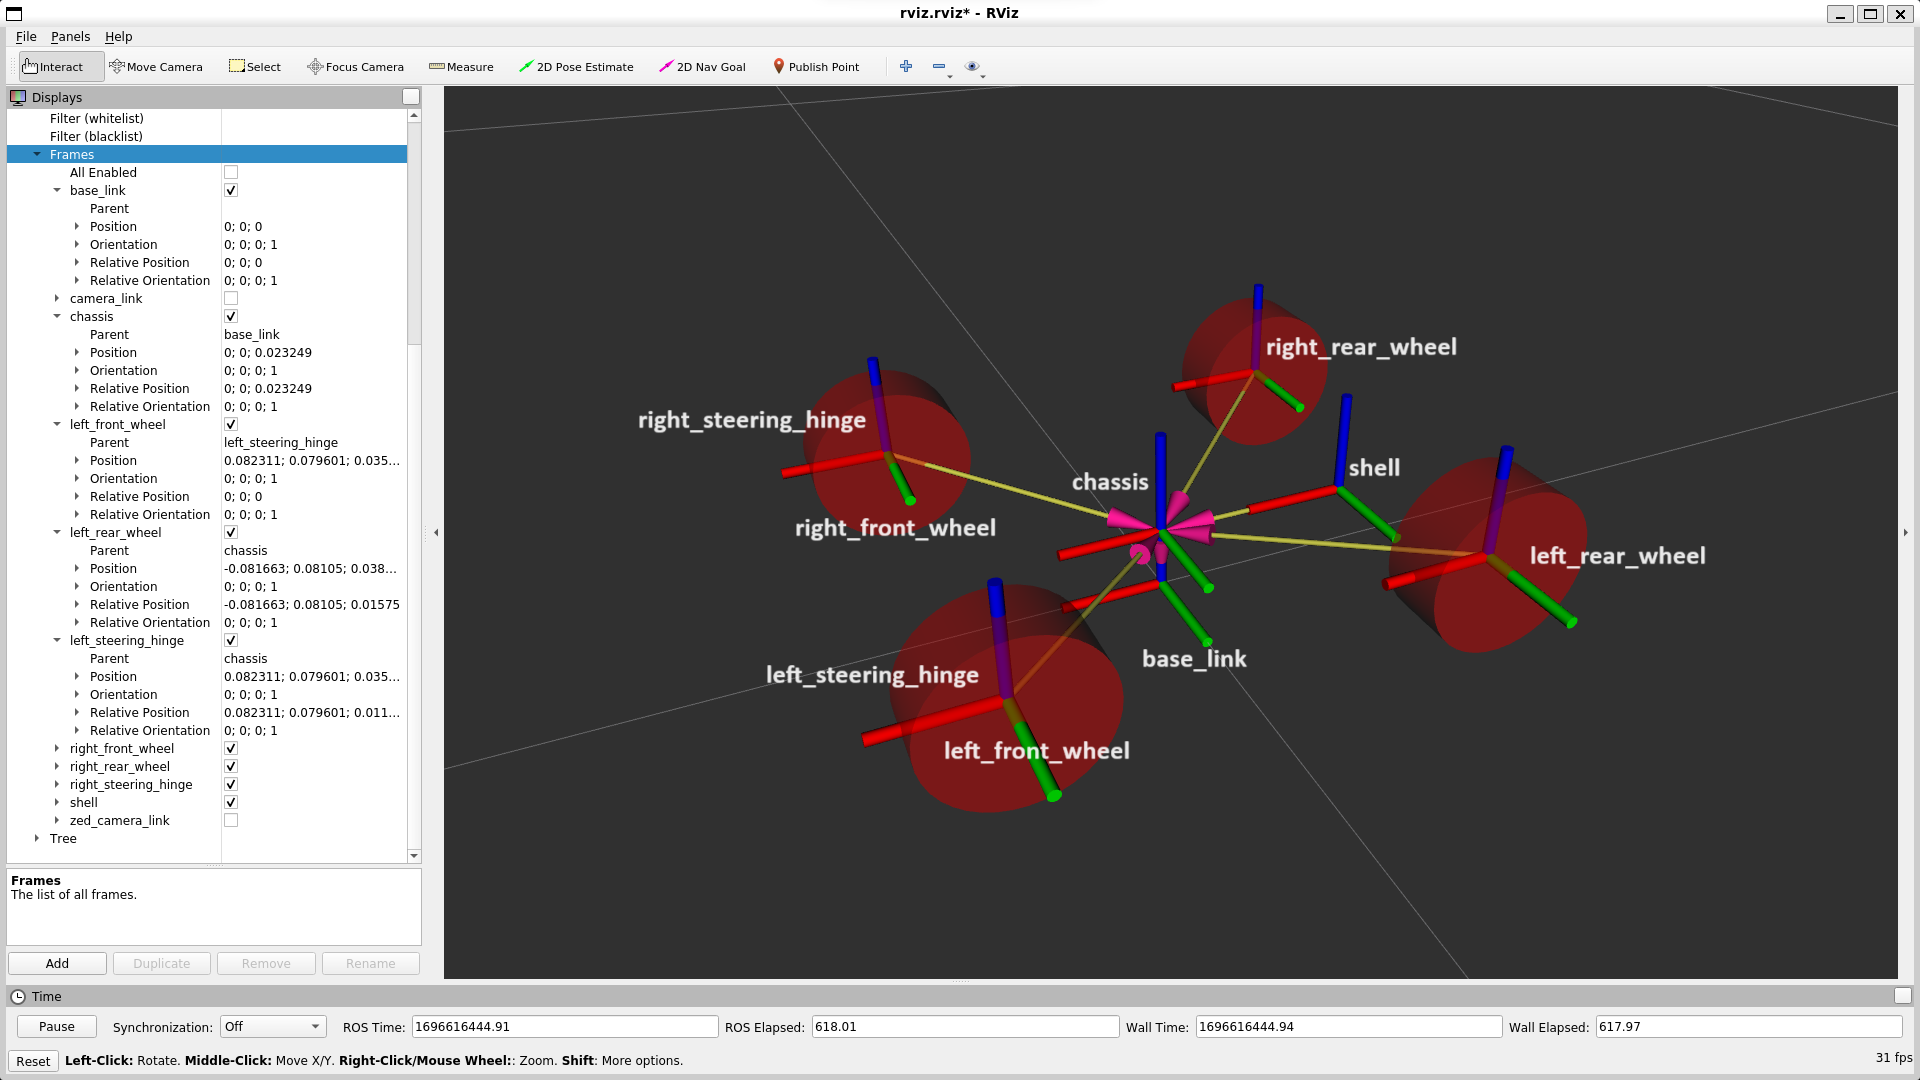
roslaunch deepracer_car rviz.launchand you will see a car model without visual meshes

Load car model to Gazebo simulation
To properly load a model to Gazebo make sure to have GAZEBO references in your urdf/xacro folders:
collisionandmacro- wheel physical attributes and collisionmaterial- which Gazebo material to usesensor- camera sensor (h, w, fov) and camera plugin (update rate, topics, frame, distortion) to publish camera images from Gazebo simulation to ROS topic
Create racecar.launch in deepracer_car/launch folder and paste there:
<!-- deep_ws/src/deepracer_car/launch/racecar.launch -->
<?xml version="1.0"?>
<launch>

<!-- load car model to parameter server -->
  <param name="robot_description" command="$(find xacro)/xacro '$(find deepracer_car)/urdf/xacro/deepracer/deepracer.xacro'"/>

  <!-- push robot_description to factory and spawn robot in gazebo -->
  <node name="racecar_spawn" pkg="gazebo_ros" type="spawn_model" output="screen" args="-urdf -param /robot_description -model deepracer -x 0.46 -y -0.36 -z 0.03 -Y -0.088633" />

</launch>
And include this file in gazebo.launch:
<!-- deep_ws/src/simulation/launch/gazebo.launch -->
<?xml version="1.0"?>
<include file="$(find deepracer_car)/launch/racecar.launch"/>
Now run
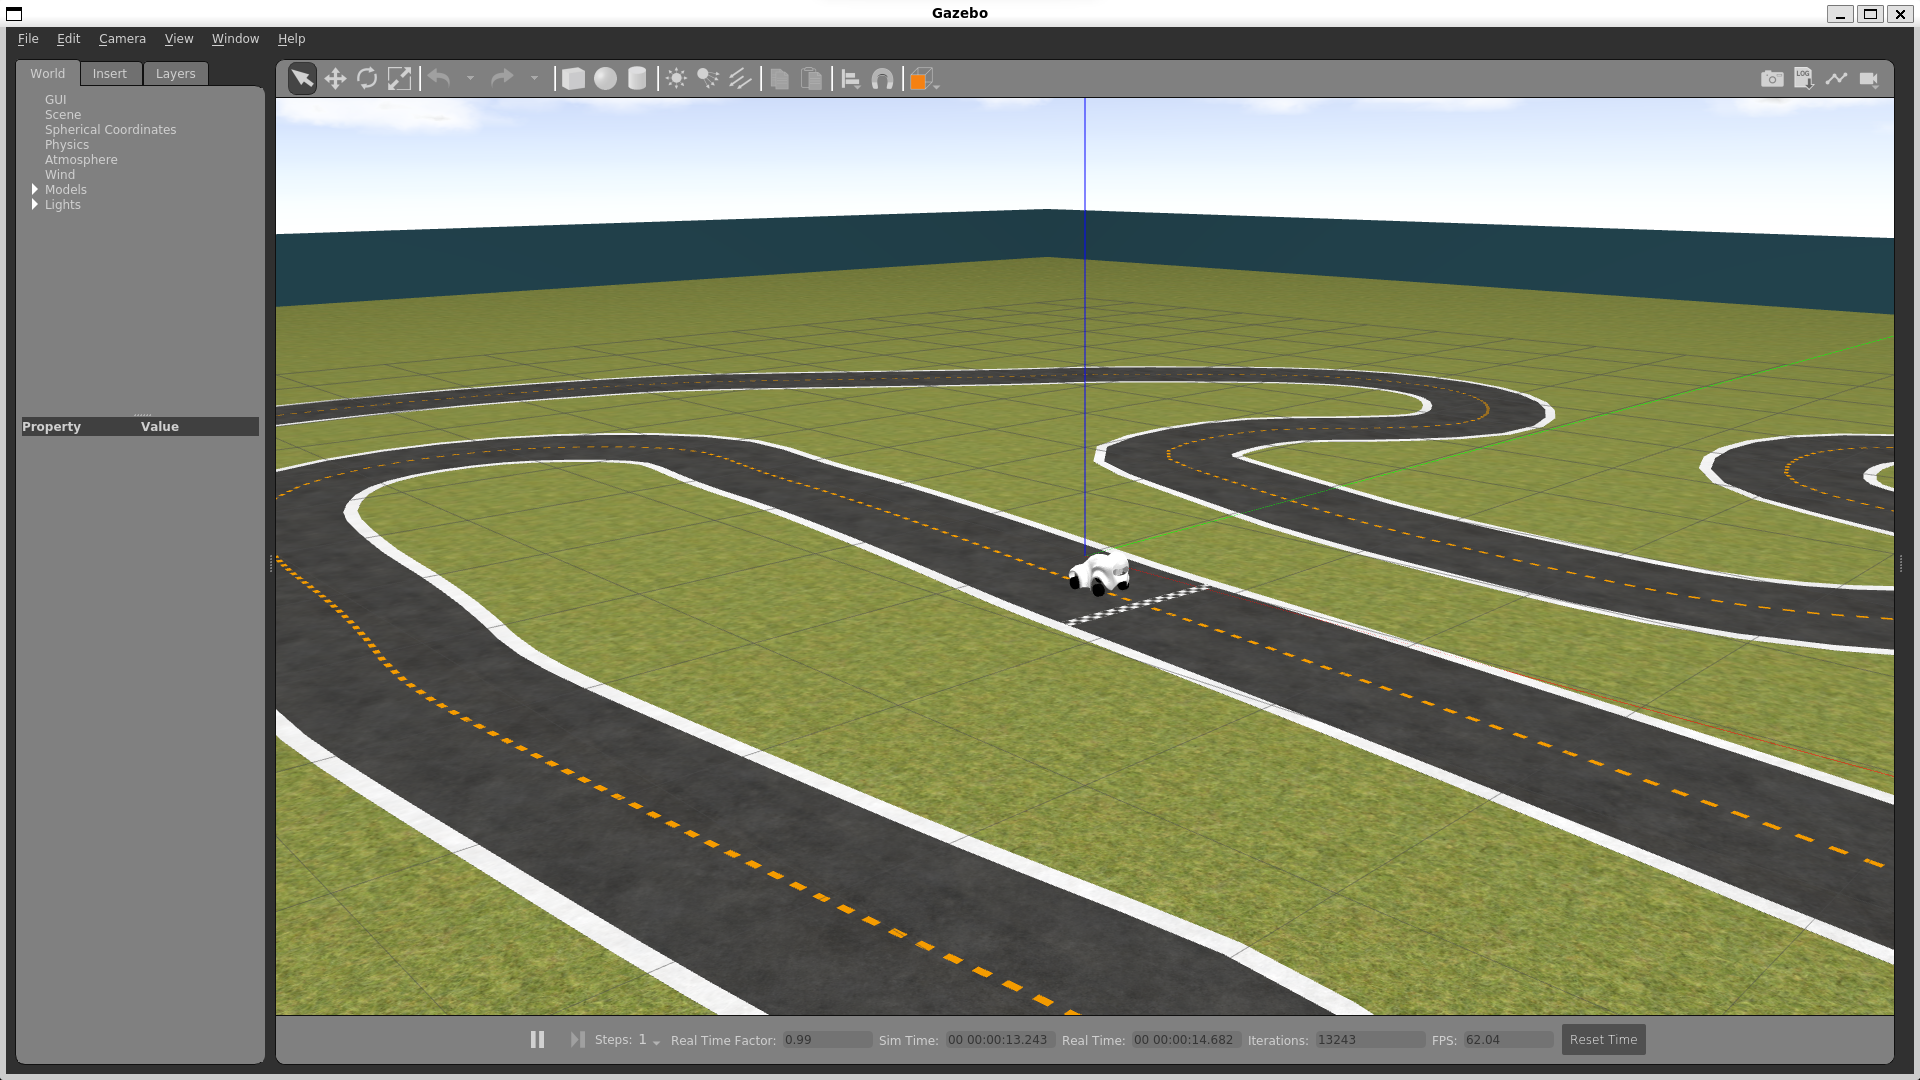
roslaunch simulation simulation.launchand you will see a car on a race track, now we have a car model and need to somehow control it.

View from the camera
The car camera images are being published to the /camera/zed/rgb/image_rect_color topic.
You can view the camera feed by using the rqt_image_view, just run:
rqt_image_viewA GUI will appear, and you can select the /camera/zed/rgb/image_rect_color topic from the dropdown menu to view the camera feed.
Alternatively, you can use image_view with the following command:
rosrun image_view image_view image:=/camera/zed/rgb/image_rect_colorThis will open a window displaying the live feed from the camera attached to your ROS agent in the Gazebo simulation.